Winter had its claws in the Swordlands as the party set out from Fort Owlbear toward the Old Sycamore, chasing fresh rumors of kobolds and a green‑haired gnome matching Tartuccio’s description. Bitter wind cut through the Gnarlwood as they trudged on snowshoes past a massive, serpentine furrow in the drifts that spoke of something titanic passing not long before. At the forest’s edge, a young woman’s voice cried for help, only to fall eerily silent as a skittering kobold warband burst from the trees. A shouted attempt at parley—We’re here for the gnome!—spooked the kobolds, who scattered back into the woods.
Following stag hoofprints that strangely shed a tuft of wolf-grey fur, the party pressed on to the dead giant of a sycamore and found a churned killing ground, with crude spears and blood splashed among its roots. A black mouth gaped beneath the tree. They dropped into worm‑worn tunnels and stumbled on blue‑skinned gremlins at a makeshift workshop. Words in Sylvan failed; one gremlin fired a cobbled brass tube that blew apart in his hands as buckshot rattled the ramp. In the chaos that followed, strange fae trickery turned missed shots back toward friends; an arrow spun home into Grungo and sent him tumbling off a ledge before Ashla hurled herself twenty feet down in a bone‑jarring plunge to crush another of the cackling imps.

Deeper in, the party found a cavern where gremlins tormented black‑scaled kobolds chained to the wall. Grungo went first with the torch and was swarmed, bound, and beaten until his caw fell silent. Ashla and Tacho hacked the imps down; Yohei and Izzy forced light and order back into the dark. They cut loose a survivor—Mikmek of the Sootscales—who breathlessly told of a clan war twisted by Tartuccio’s meddling and of a sacred kobold idol stolen by the gremlins.
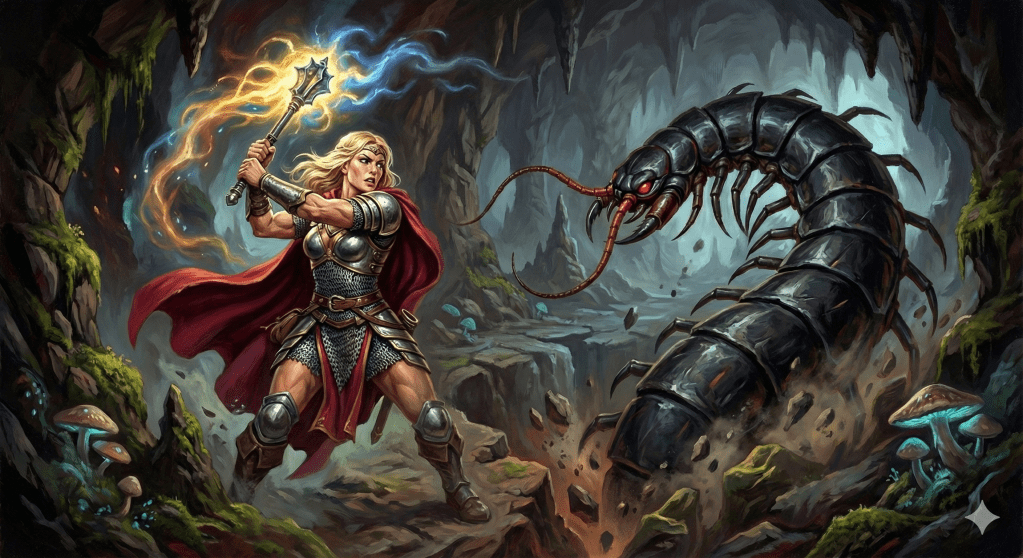
Across a root‑lashed chasm, a war room waited: a filthy table‑map of the woods, a blood‑stained ivory idol of Sharptooth weighing a scrap of charcoal‑scrawled ledger, and Chief Grabbles with his gremlin pack. At his barked command, a giant centipede surged from the chasm; Izzy blinded it with a word, and it writhed back into the depths while Ashla’s blows drove the gremlins fleeing. Mikmek snatched the idol, the mifflits scattered, and the map yielded hard truths: the Sootscales to the south, a cursed island fortress on the river, a distant mountain lair marked the Great One, and a tally noting that the kobolds possess a shiny ring.
They returned from the Old Sycamore with a new ally, an idol the Sootscales would kill to reclaim, a map of looming threats—and without Grungo, whose death will not go unanswered when the hunt for Tartuccio continues.
OUTLINE:
Winter March and Rumors of Tartuscio
- Departed Fort Owlbear in deep winter toward the Old Sycamore after news of kobolds and a green‑haired gnome
- Spotted a massive serpentine furrow in the snow hinting at a colossal burrower
- Heard a young woman’s cry for help that abruptly ceased
- Met a kobold warband at the treeline; a shouted parley about the gnome spooked them into retreat
Old Sycamore Clearing and Descent
- Found a blood‑churned clearing with broken spears and red spatters around the sycamore’s roots
- Entered root‑hewn tunnels beneath the tree
- Confronted gremlins in a workshop; a homemade blunderbuss fired and catastrophically exploded
- Fae trickery bent missed shots toward allies; an arrow spun back and sent Grungo off a ledge
- Ashla dropped twenty feet to crush a gremlin and open the way
Prison Cavern, Tragedy, and Rescue
- Discovered mifflits torturing bound kobolds; three were already dead
- Grungo went first, was swarmed, bound, and killed before the others carved through the imps
- Freed a survivor, Mikmek of the Sootscale clan, who explained the clan’s sacred idol had been stolen and Tartuscio had twisted the local conflict
War Room, Summoned Beast, and Rout
- Crossed a root‑lashed chasm into a war room with a dirt‑and‑twig map and the blood‑stained idol of Sharptooth
- Chief Grabbles commanded the summoning of a giant centipede with a bloody haunch; Izzy blinded the beast and it withdrew
- Ashla and Yohei pressed the attack; the mifflits fled north
- Mikmek grabbed the idol; a burlap sack of coin and a scrawled ledger were recovered
Clues, Map Marks, and What Comes Next
- Ledger listed us vs them: statue and coins vs magic dust, lots of coins, and a shiny ring
- Map marked the Sootscale lair to the south, a cursed island fortress on the river, giants to the west, and a southern mountain site titled the Great One
- Learned the kobolds are passing around a shiny ring likely tied to the ongoing ring quest
- Returned to the surface with Mikmek, the idol, and hard intel, mourning Grungo and sharpening the hunt for Tartuscio
NPCs:
- Asp Thane: A changeling blacksmith at Fort Owlbear whose kin in the bogs may mend Kelsinger, the party’s broken blade. Practical and well‑connected.
- Chief Sootscale: Kobold leader entangled in a struggle for control of the clan, with a sacred idol as leverage and Tartuscio’s influence muddying loyalties.
- Giant Centipede: A double‑tailed, crocodile‑length horror laired in the chasm under the sycamore. Summoned with meat and driven off when blinded.
- Grabbles: Mifflit chief who commanded the tunnels beneath the Old Sycamore. He summoned a giant centipede to the fray and fled bleeding when the battle turned.
- Great Worm of the Narrowwood: A titanic burrower whose passing carved a trench through winter drifts. More rumor than fact to most, but the tracks were real.
- Lady Kremenko: The party’s patron, a hard‑edged noble who survived Tartuscio’s attempt on her life and now sponsors multiple expeditions into the Swordlands. She posted a rich bounty on the gnome.
- Otto: Proprietor of Otto’s Trade Fort, a northern hub where news, supplies, and trouble change hands in equal measure.
- Tartuscio: A green‑haired gnome assassin who fled north justice for the Swordlands and now agitates among kobolds, turning their clan politics to his ends. His capture is worth 200 gold and the party’s focus.
ITEMS:
- Bag of Marbles: A pouch of small glass balls scrounged from the gremlin den. A trickster’s friend on slick stone.
- Burlap Sack of Mixed Coins: Two hundred coppers, a handful of silvers, and a beggar’s stack of gold. Hardly worth a life, yet dearly bought.
- Healing Salves: Thick herbal tinctures brewed at Fort Owlbear, passed hand to hand when blood runs. They kept steel swinging through the cold.
- Idol of Sharptooth: A blood‑stained ivory statuette revered by the Sootscales. More valuable as leverage than coin.
- Kelsinger, the Broken Sword: A once‑mighty blade with power dimmed and edge sundered. It awaits a smith of rare art in the bogs to wake it again.
- Mifflit Map Scrap: A filthy ledger page weighed by the idol, listing us and them and hinting at a shiny ring among the kobolds.
- Shattered Blunderbuss: Twisted brass and bad ideas from a gremlin’s last invention. Proof that not every spark should be lit.
- Soulcatcher Lantern: A grim lamp meant to snare the dying breath of mortals; it stood mute over gremlin corpses that lacked souls to take.
LOCATIONS:
- Cursed Island Fortress: An abandoned stronghold on a river island marked on the mifflit map with dire warnings. Superstition has kept it quiet—so far.
- Fort Owlbear: The party’s stronghold and winter refuge, where supplies, allies, and hard choices gather. From here, paths point everywhere and nowhere safe.
- Great One’s Mountain: A far southern mountain site circled on the map as the Great One, purpose unknown and ominous.
- Labrad: A northern town that feeds rumors and recruits to the Swordlands’ push. Someone there first spotted the green‑haired gnome.
- Narrowwood Forest: An old‑growth tangle of bare limbs and deep snow, full of echoes, predators, and voices that are not what they seem.
- Old Sycamore: A towering, dead sycamore whose roots hide a network of cramped, root‑veined caverns crawling with gremlins. Blood and secrets stain its shadow.
- Otto’s Trade Fort: A waystation of goods, gossip, and guards, where strange companions draw eyes and questions.
- Prison Cavern and Chasm: A low, egg‑shaped chamber where kobolds were bound and tortured, split by a root‑webbed chasm that plunges into darkness.
- Sootscale Warren: Kobold tunnels to the south where clan politics have turned bloody under Tartuscio’s shadow.
- War Room Under the Sycamore: A twine‑lashed table‑map of the region, a burlap sack of mixed coin, and the Sootscale idol resting in blood. Chief Grabbles’ nerve broke here.
- Workshop Cavern: A gremlin tinker‑den under the sycamore, littered with traps, scrap, and the shards of a suicidal blunderbuss.
FACTIONS:
- Biggins: Giant folk marked on the mifflit map as potential muscle. Their intentions remain unknown.
- Lady Kremenko’s Charter: Noble‑backed expeditions to settle and secure the Swordlands. The party’s banner when diplomacy matters—and a target for rivals.
- Miflits: Blue‑skinned gremlins who trap, tinker, and torment in the dark, cackling until steel answers. They fled the sycamore’s war room.
- Sootscale Clan: Black‑scaled kobolds split by ambition, tradition, and a stolen idol. Their fate is now tied to the party’s next moves.
- Tartuscio’s Agents: Assassins and opportunists orbiting a green‑haired gnome, turning local feuds to his use. Slippery, deadly, and paid for in gold.
QUESTS:
- Bring Tartuscio to Justice: Track down the green‑haired gnome assassin who fled Lady Kremenko and now stokes conflict among kobolds and gremlins. A 200‑gold bounty waits.
- Investigate the Cursed Island Fortress: Explore the river island stronghold marked dangerous on the mifflit map and learn why the locals avoid it.
- Probe the Old Sycamore: Scout the reported kobold activity beneath the dead tree and determine any link to Tartuscio.
- Restore Kelsinger: Carry the broken sword to the changeling blacksmith’s grandmother in the northeastern bogs to reforge its power.
- Retrieve Lana’s Ring: Recover the missing ring that recently surfaced among kobolds, passed hand to hand as a prized trinket.
- Return the Sootscale Idol: Deliver the Sharptooth idol to Chief Sootscale to sway clan politics and undercut Tartuscio’s hold.
- Unmask the Narrowwood Lure: Discover the source of the false cries for help and the stag‑prints with wolf fur that haunt the forest’s edge.
PLAYER CHARACTERS
- Ashla: An aasimar ex‑guard whose courage is her signature. When allies fell, she hurled herself off a twenty‑foot ledge to smash a gremlin, then anchored the line against Chief Grabbles’ pack. With a warrior’s discipline and a guardian’s heart, Ashla is the party’s shield when the dark presses in.
- Grungo Kong: A tengu thief, a self‑styled scoundrel with a code. He scouted first, carried the light when no one else dared, and paid for it beneath the sycamore’s roots, overrun by imps. Grungo’s death hangs heavy, a debt the party intends to call in.
- Izzy: An Oriad priest whose calm demeanor hides a taste for controlled chaos. He stepped into the darkest moments to turn the tide, blinding a summoned centipede and steadying allies when the caverns tried to swallow them. Izzy’s faith and pragmatism make him both the group’s conscience and its emergency brake.
- Mikmek: A black‑scaled kobold of the Sootscale clan, rescued from gremlin bonds and quick to snatch back his people’s idol. Canny and skittish in equal measure, he knows the byways, factions, and feuds of the Narrowwood. His small illusions and sharp tongue may prove as valuable as his knowledge of Tartuscio’s meddling.
- Tacho: A human fighter and poacher who moves like he was raised in the brush. At the Old Sycamore he proved brutal and efficient, his axe taking two gremlin heads in a single sweep, and his woodcraft kept the group on its feet in the winter wilds. Tacho’s instincts lean to direct action, but he is nobody’s fool.
- Yohei: A kitsune gunslinger with a dry wit and a ruthless streak. His steel rang loud in the tunnels, trading shots and cuts in cramped spaces while keeping pressure on fleeing foes. Yohei’s eye for opportunity and appetite for risk set the pace when plans go hot.

Leave a comment